
Tile Removal in St. Lucie Village
Clean, Safe Floor Removal Done Right
Hear from Our Customers

Professional Floor Removal St. Lucie Village
You’re not just removing old flooring. You’re creating the foundation for something better.
When tile removal is done right, you get a clean, level surface that’s properly prepared for whatever comes next—whether that’s polished concrete, epoxy coating, or new flooring installation. No dust lingering in your air ducts for months. No uneven surfaces that cause problems later. No health concerns from dangerous airborne particles.
The difference is in the preparation and process. Your subfloor ends up cleaner and flatter than it was before, ready for the next phase of your project without delays or complications.
Flooring Contractor St. Lucie Village
We’ve been serving South Florida since 2020, specializing in concrete and flooring solutions that meet the highest standards. We work with government clients, military facilities, and discerning homeowners who expect quality work done safely.
In St. Lucie Village, where median home values exceed $440,000, homeowners understand the value of doing things right the first time. Protecting your investment means choosing contractors who understand both the technical requirements and the importance of maintaining a clean, safe work environment.
We use professional-grade equipment and follow strict safety protocols, ensuring your tile removal project is completed without compromising your home’s air quality or your family’s health.
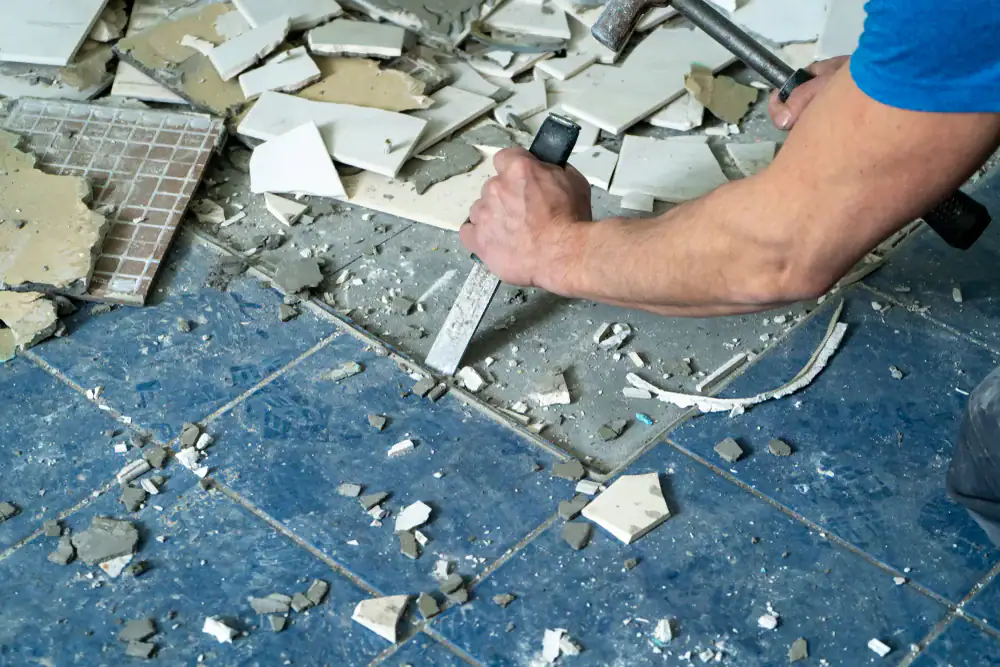
Floor Tile Removal Process
Our process starts with protecting your home. All furniture, fixtures, and HVAC systems get covered and sealed before any removal begins. This prevents dust from spreading throughout your house.
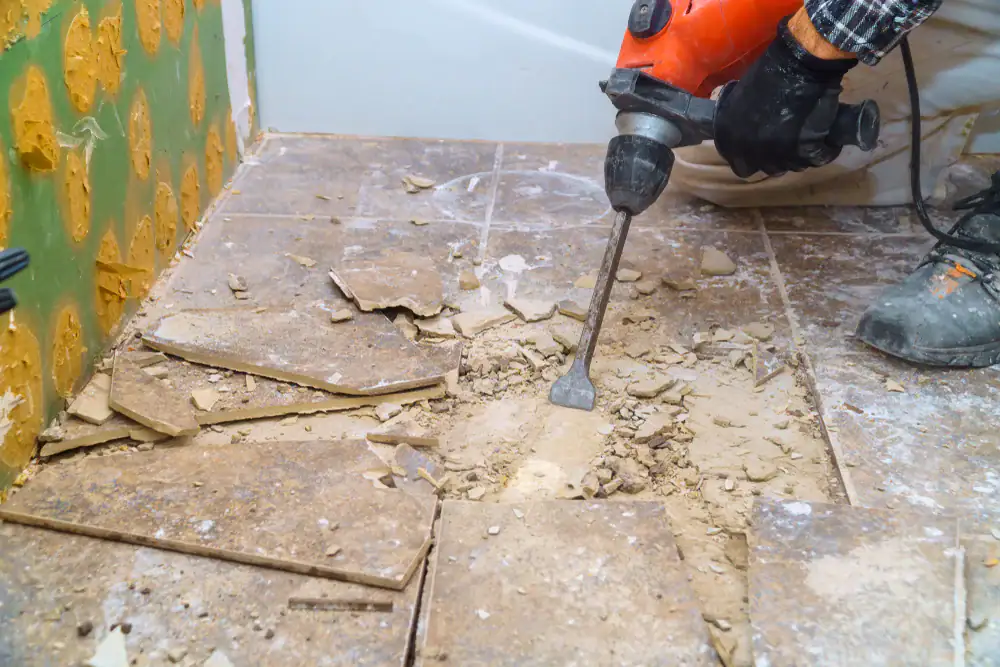
Next comes the actual tile removal using professional equipment designed to control dust at the source. We remove tiles systematically, section by section, capturing debris as it’s created rather than letting it become airborne.
The final step involves removing all adhesive and thin-set from the concrete substrate. This creates a clean, level surface that’s properly prepared for your next flooring installation. You’re left with a workspace that’s ready for the next phase of your project, not months of cleanup.
Ready to get started?
Flooring Removal Services St. Lucie Village
Our professional tile removal includes complete debris removal, proper surface preparation, and thorough cleanup. The service covers protection of your existing fixtures and furnishings, dust control throughout the process, and preparation of the substrate for your next flooring installation.
In St. Lucie Village’s humid subtropical climate, proper moisture management during the removal process prevents issues that could affect your future flooring installation. We understand local conditions and adjust our techniques accordingly.
Our service also includes proper disposal of all removed materials according to St. Lucie County regulations. You don’t have to worry about debris removal or finding appropriate disposal methods—everything is handled as part of our complete service.
How much dust does tile removal create in my home?
Traditional tile removal creates approximately one pound of dust per square foot of tile removed. For a typical 500-square-foot area, that’s 500 pounds of silica-containing dust that can spread throughout your entire home.
This dust doesn’t just settle on surfaces—it gets into air ducts, cabinets, and even sealed areas. The particles are microscopic and can remain airborne for hours or even days after the work is completed. Professional dust-controlled removal methods capture this debris at the source, preventing it from contaminating your living space and requiring months of cleanup.
Is the dust from tile removal dangerous to my family’s health?
Yes, tile removal dust contains crystalline silica, which OSHA has classified as a lung carcinogen. Prolonged exposure can lead to silicosis, a serious respiratory disease that can be fatal.
The dust particles are about 100 times smaller than beach sand, making them easily inhaled deep into your lungs. In 2017, OSHA implemented strict regulations limiting worker exposure to 50 micrograms per cubic meter of air over an 8-hour shift. Professional contractors use specialized equipment to capture 99% or more of this dust before it becomes airborne, protecting both your family and the workers.
How long does professional tile removal take to complete?
Professional tile removal typically takes 1-2 days for most residential projects, depending on the square footage and tile type. A 500-square-foot area usually requires 6-8 hours of actual removal time.
The timeline includes setup and protection of your home, systematic tile removal, adhesive removal from the substrate, and complete cleanup. Projects can often be completed faster than DIY attempts because professional teams use commercial-grade equipment and have developed efficient processes. You can usually begin your next phase of flooring installation within 24-48 hours of completion.
What happens to the concrete floor after tile removal?
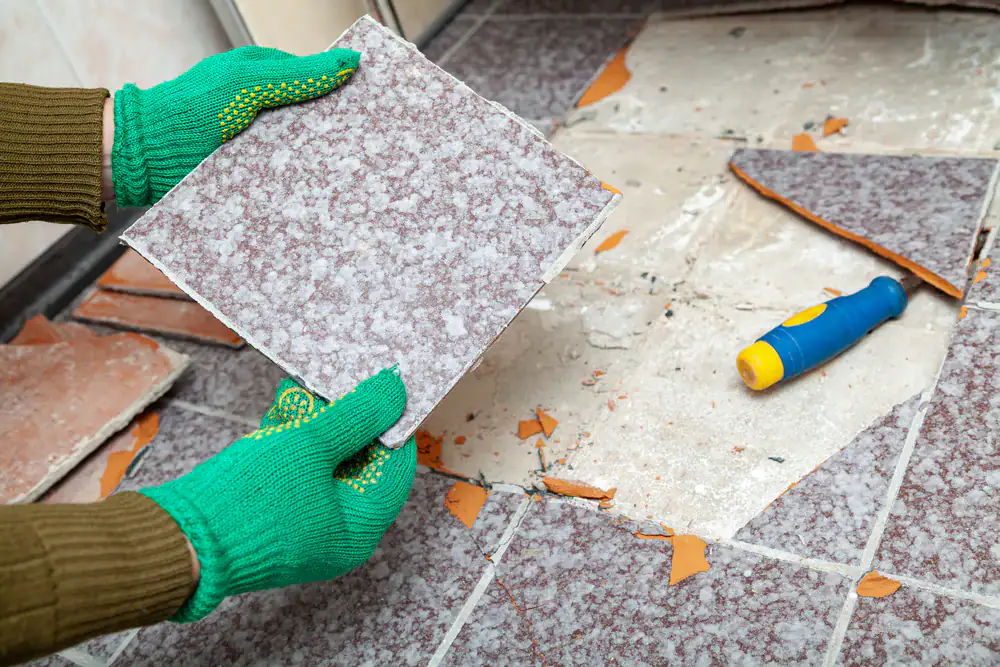
After professional tile removal, your concrete substrate should be clean, level, and properly prepared for new flooring installation. All adhesive residue and thin-set material gets removed, leaving a smooth surface.
The concrete may need minor repairs or leveling, which can be addressed during the removal process. Professional contractors evaluate the substrate condition and can recommend whether additional preparation is needed for your specific next flooring type. This preparation work is crucial for ensuring your new flooring installation performs properly and lasts as long as expected.
Can I stay in my home during tile removal?
With professional dust-controlled tile removal, you can typically remain in your home during the work. The containment systems prevent dust and debris from spreading to other areas of your house.
However, the work area itself will be inaccessible during the removal process, and there will be noise from the equipment. Many homeowners choose to plan activities outside the home during the actual removal work, but it’s not necessary to relocate entirely. We’ll discuss the specific timeline and any temporary inconveniences before starting your project.
How do I prepare my home for tile removal?
We handle most of the preparation work, but you can help by removing personal items from the work area and clearing access paths. Remove furniture, decorations, and anything valuable from the rooms where work will be performed.
We’ll handle protection of built-in fixtures, HVAC systems, and adjacent areas. We’ll also set up containment barriers to prevent dust migration. Clear communication about your home’s layout, any special concerns, and your timeline expectations helps ensure the project goes smoothly from start to finish.
Other Services we provide in St. Lucie Village