
Tile Removal in Sandhill Crossing, FL
Your Floors Cleared, Your Home Protected
Hear from Our Customers

Professional Floor Removal Sandhill Crossing
When your tile removal is done right, you’re left with clean, smooth concrete that’s ready for whatever comes next. No dust settling on your furniture for weeks. No scratched cabinets or damaged belongings. No wondering if the job was done properly.
You get a space that’s actually cleaner than when we started, with concrete surfaces prepped and ready for your new flooring installation. The difference is in the technology and the process—dust captured at the source, not scattered throughout your home.
Your Sandhill Crossing property deserves better than sledgehammers and shop vacuums. You deserve a process that protects your investment while getting the job done efficiently.
Tile Removal Company Sandhill Crossing
We’ve been serving Sandhill Crossing and the broader South Florida market since 2020, specializing in dust-free tile and floor removal. As a veteran-owned company, we bring military precision to every project.
Our team has earned contracts with government facilities including the Coast Guard, US Military installations, and municipal projects across South Florida. This track record speaks to our ability to meet strict standards and deliver consistent results.
Local homeowners in Sandhill Crossing appreciate our commitment to protecting their properties while efficiently removing old flooring. Unlike general contractors who treat tile removal as a side service, we focus specifically on flooring—it’s what we do best.
Floor Tile Removal Process Florida
Our process starts with protecting your belongings and sealing off work areas to contain any residual dust. We use specialized equipment that captures dust at the point of creation, not after it’s already airborne.
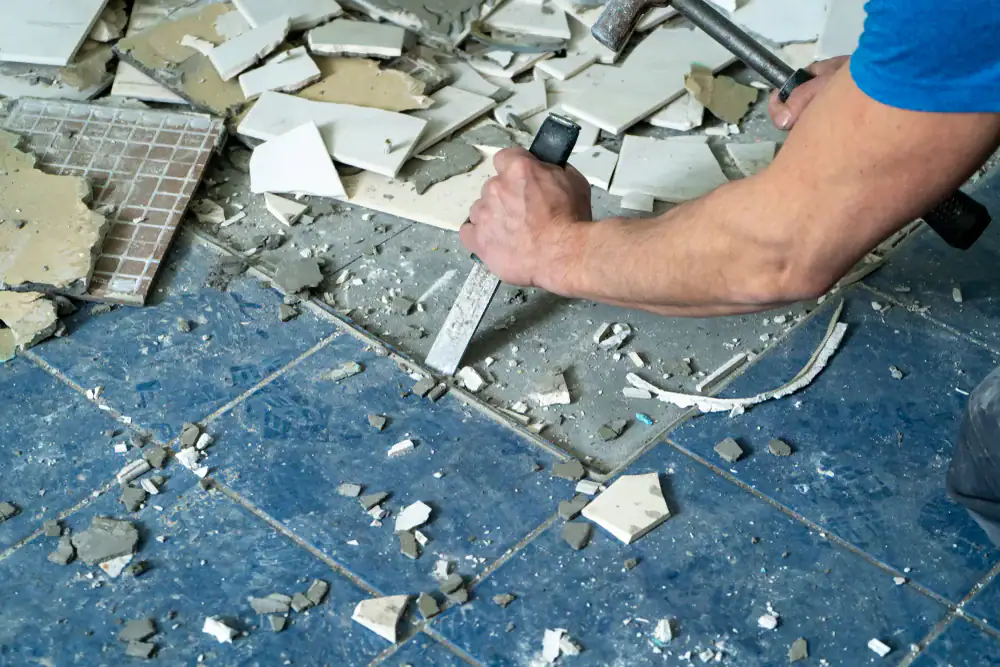
Next comes the actual removal using advanced machinery that can remove up to 90% of tile and adhesive on the first pass. This isn’t the old method of hammering and chiseling—it’s precision equipment designed specifically for efficient floor removal.
Finally, we handle complete cleanup and disposal, leaving you with smooth concrete surfaces ready for your next flooring project. The entire process typically takes a fraction of the time traditional methods require, and you won’t spend weeks cleaning dust from every surface in your home.
Ready to get started?
Flooring Removal Services Sandhill Crossing
Our professional tile removal in Sandhill Crossing includes complete dust containment using OSHA-compliant equipment and HEPA filtration systems. This isn’t just about meeting regulations—it’s about protecting your family’s health and your property’s condition.
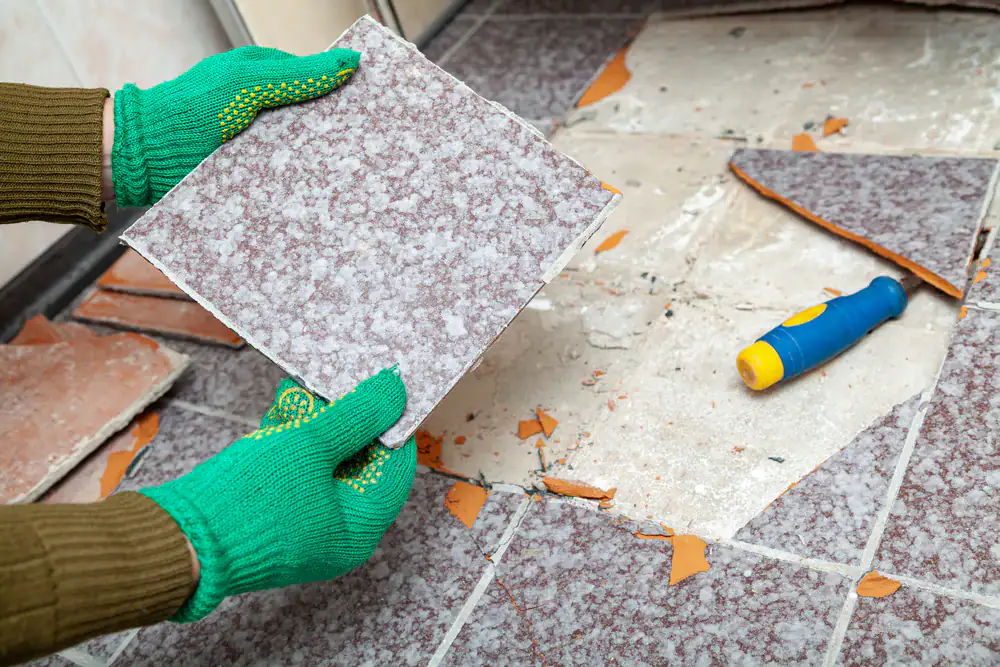
Our service covers removal of ceramic, porcelain, natural stone, and other tile types, along with adhesive and thin-set removal. All debris is properly disposed of, and the concrete surface is prepared for your next flooring installation.
Sandhill Crossing’s coastal location means humidity and moisture considerations are critical during any flooring project. We understand these local conditions and plan accordingly, ensuring proper preparation that prevents future flooring failures. The investment in professional removal pays dividends when your new flooring installation goes smoothly and lasts for years.
How much dust does tile removal actually create in my home?
Traditional tile removal creates approximately one pound of dust per square foot of flooring removed. For a typical 200 square foot kitchen, that means 200 pounds of dust scattered throughout your home.
This dust doesn’t stay in the room where the work is happening. It travels through air vents, settles on furniture, gets into electronics, and can take months to fully eliminate. Our dust-free removal systems capture this debris at the source using specialized vacuum systems and containment barriers.
The cleanup costs alone from traditional tile removal often run $550-800 per professional cleaning session, and most homes need multiple cleanings over several months to fully address the contamination.
Can I remove tile myself or should I hire professionals?
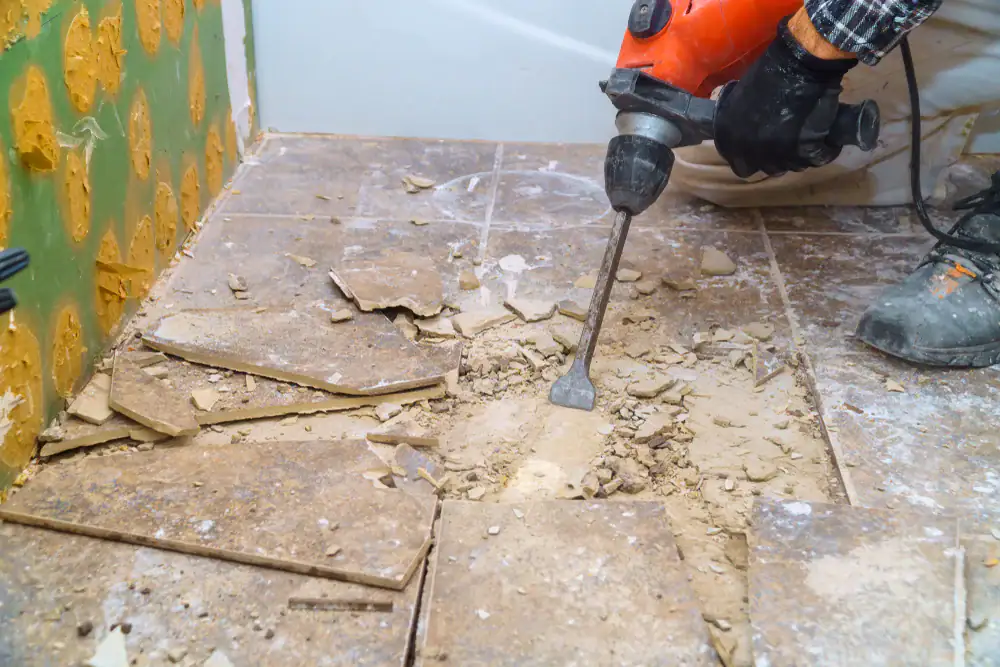
While DIY tile removal is possible, 90% of the work involves removing thin-set adhesive, which is where most homeowners get frustrated. Traditional demolition methods using hammers and chisels can damage your concrete slab, creating an uneven surface that complicates new flooring installation.
Our professional equipment can complete thin-set removal in under an hour for 1000 square feet, while DIY methods might take days or weeks for the same area. The specialized grinders and dust collection systems aren’t typically available for rental, and improper technique can create costly concrete repairs.
Factor in the health risks from silica dust exposure, the time investment, and the cleanup costs, and professional removal often costs less than the true DIY expense when everything is considered.
What types of tile and flooring can be removed dust-free?
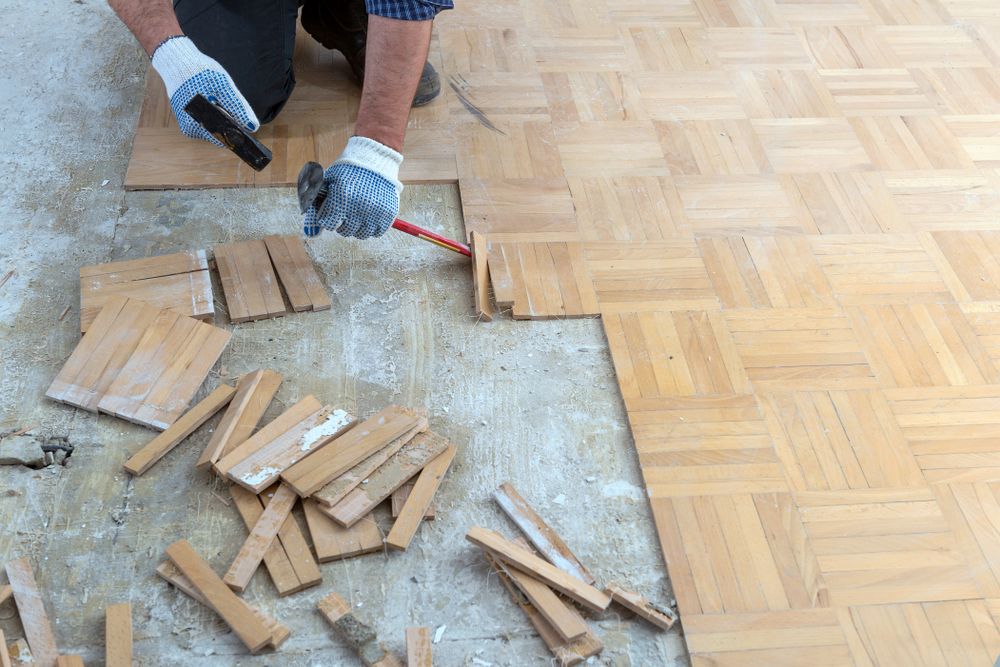
Our dust-free removal systems work on virtually all tile types including ceramic, porcelain, natural stone, marble, travertine, and terrazzo. The technology also handles other flooring materials like VCT, vinyl, laminate, and even some carpet installations.
The key is matching the right equipment and technique to your specific flooring type and adhesive system. Ceramic tiles with standard adhesive remove differently than natural stone with epoxy-based thin-set, and we adjust our approach accordingly.
Even specialty installations like heated floors or floors with embedded electrical systems can be removed safely using proper techniques. Our dust collection systems work regardless of the material being removed, capturing particles from any demolition process.
How long does professional tile removal take compared to DIY?
Our professional tile removal typically takes one to three days depending on the size and complexity of your project, compared to weeks for most DIY attempts. The difference comes down to equipment and experience.
We arrive with specialized machinery that can remove tile and adhesive simultaneously, while DIY methods require multiple passes with different tools. A 500 square foot area that might take a weekend warrior two weeks to complete can often be finished by our crew in a single day.
The time savings extend beyond just the removal process. Our jobs include complete cleanup and debris disposal, eliminating the additional weeks most homeowners spend dealing with dust contamination and disposal logistics.
Is dust-free tile removal worth the extra cost?
When you factor in cleanup costs, health considerations, and time investment, dust-free removal often costs less than traditional methods. Professional cleaning services charge $550-800 per session, and most homes need multiple cleanings after traditional tile removal.
The health benefits are significant, especially for families with respiratory sensitivities or young children. Crystalline silica dust exposure can cause serious long-term health issues, and OSHA regulations now require proper containment for exactly this reason.
Time value matters too. Instead of spending weeks cleaning dust from every surface in your home, you can move directly to your new flooring installation. Many homeowners find the peace of mind and convenience worth the investment, especially when the total cost difference is minimal.
What should I expect during the tile removal process?
Our tile removal process starts with protecting your belongings and setting up dust containment barriers around the work area. You’ll see our crews arrive with specialized equipment that looks different from traditional demolition tools—these are precision machines designed for efficient, clean removal.
The actual removal process is surprisingly quiet compared to hammer-and-chisel methods. Our modern equipment uses controlled grinding and vacuum systems rather than impact demolition. Most homeowners are surprised how little disruption there is to their daily routine.
Cleanup happens as work progresses, not after everything is demolished. By the end of each day, debris is contained and removed, and you’re left with clean concrete surfaces ready for the next phase of your flooring project. The entire process is more systematic and controlled than most people expect.
Other Services we provide in Sandhill Crossing